How To Outsmart Your Boss On Buy European Driving Permit Online
작성자 정보
- Hans 작성
- 작성일
본문
Buy European Driving Permit Online: A Comprehensive Guide
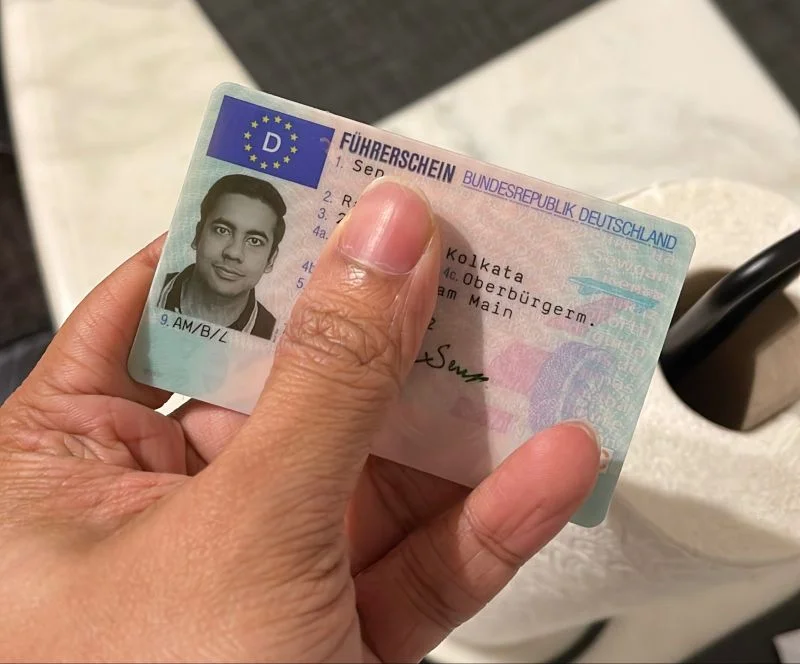
In an ever-globalizing world, the ability to drive in numerous countries is important. For travelers, expatriates, and global students, a European driving authorization can facilitate smooth mobility throughout the continent. With the rise of digital technology, acquiring a European driving license online has ended up being a more accessible choice than ever. This blog site post explores everything one requires to understand about purchasing a European driving permit online, consisting of the benefits, the procedure, GefäLschten deutschen FüHrerschein kaufen and regularly asked questions.
What is a European Driving Permit?
A European Driving Permit (EDP) is a document that enables individuals to drive within European nations. Each nation in Europe has its own policies, Informationen zum deutschen Führerschein Führerschein erwerben (www.ntopia-tech.com) so understanding the differences is essential. A European driving permit functions as a valid identification for motorists and can be particularly essential for non-EU citizens. The permit makes sure that drivers adhere to regional traffic laws and regulations.
Advantages of Obtaining a European Driving Permit Online
- Convenience: The online application process gets rid of the requirement to go to physical offices, conserving time and effort.
- Ease of access: Individuals can use from anywhere, making it easier for expatriates or travelers.
- Fast Processing: Many online platforms offer expedited processing times, Anmeldung für einen Rechtliche Fragen zum deutschen Führerschein Echter deutscher Führerschein (about his) allowing candidates to receive their permits in a much shorter amount of time.
- Decreased Paperwork: Online applications often have a structured procedure, decreasing the amount of documentation involved.
- 24/7 Access: Online services are available around the clock, allowing candidates to submit their requests at their convenience.
Table: Comparison of Costs for European Driving Permits
| Country | Cost (Approximate) | Processing Time | Validity Period | Notes |
|---|---|---|---|---|
| Germany | EUR30 - EUR60 | 1-2 weeks | 15 years | Must pass a driving test |
| France | EUR50 - EUR80 | 2-4 weeks | 15 years | Needs residency evidence |
| Italy | EUR50 - EUR70 | 3-5 weeks | Ten years | Identification required |
| Spain | EUR40 - EUR60 | 1-4 weeks | Ten years | Medical evaluation required |
| Netherlands | EUR30 - EUR55 | 2-3 weeks | Ten years | Eye test required |
Note: Prices and processing times may vary depending upon the issuer and other aspects.
How to Buy a European Driving Permit Online
Acquiring a European driving authorization online is an uncomplicated procedure. Below are the general steps involved:
Step 1: Determine Eligibility
Before applying, individuals ought to verify their eligibility based upon their residency and citizenship. Various nations have various requirements for issuing permits.
Step 2: Gather Required Documents
Depending upon the providing nation, the following files may be needed:
- Proof of identity (e.g., passport)
- Proof of residency
- Previous driving license (if suitable)
- Recent passport-sized photos
- Payment technique (credit/debit card)
Step 3: Choose a Reputable Online Service
Select a reliable online platform that specializes in releasing European driving authorizations. Ensure the site is safe and has favorable evaluations.
Step 4: Complete the Application Form
Complete the online application properly. Errors can result in hold-ups or rejection.
Step 5: Submit Documents
Publish the needed documents as specified. Make sure that all files are clear and readable.
Action 6: Pay the Fee
Complete the payment process using the favored technique. Keep the transaction receipt for reference.
Step 7: Track Your Application
The majority of online services provide tracking alternatives. Utilize this function to keep track of the progress of your application.
Step 8: Receive Your Permit
When authorized, the European driving authorization will be sent out to the specified address. Verify all information when got.
Table: Application Process Overview
| Action | Action | Amount of time |
|---|---|---|
| Action 1 | Figure out eligibility | 1 day |
| Action 2 | Collect needed documents | 1-2 days |
| Step 3 | Select a credible online service | 1 day |
| Step 4 | Total the application | 1 hour |
| Step 5 | Submit documents | 1 hour |
| Step 6 | Pay the fee | 30 minutes |
| Step 7 | Track your application | Continuous |
| Step 8 | Receive your authorization | 1-4 weeks (varies) |
Frequently Asked Questions (FAQs)
1. Can I utilize my home country's driving license in Europe?
Numerous nations in Europe permit tourists to drive with a legitimate driving license from their home country. Nevertheless, some countries may require an International Driving Permit (IDP) in addition to the home license.
2. How long is a European driving license valid?
The credibility duration for a European driving license can vary however typically varies from 10 to 15 years, depending on the country.
3. What if my driving authorization is lost or stolen?
If your permit is lost or stolen, report it to the local authorities and make an application for a replacement through the issuing authority or online service.
4. Is it safe to buy a European driving license online?
Yes, as long as you use trustworthy platforms that have safe and secure payment methods and favorable reviews.
5. What should I do if my application is rejected?
If your application is denied, connect to the online service for information and consider reapplying with the essential adjustments.
Acquiring a European driving permit online can significantly reduce the process of driving throughout Europe. By following the laid out actions and remaining informed about the requirements and policies, individuals can ensure a smooth application procedure. Whether for travel, research study, or residing in Europe, a driving permit opens the door to many chances for exploration. Constantly keep in mind to check the particular guidelines of the nation you prepare to drive in to make sure compliance.
By accepting the convenience of online services, browsing the roadways of Europe can end up being a problem-free experience, enabling travelers to concentrate on what genuinely matters: the journey ahead.
관련자료
-
이전
-
다음