The Cots Awards: The Top, Worst, Or The Most Bizarre Things We've Seen
작성자 정보
- Archie Kaczmare… 작성
- 작성일
본문
The Ultimate Guide to Choosing the Perfect Cot for Your Baby
When it comes to getting ready for a new arrival, among the most significant purchases moms and dads will make is a cot. A cot, or baby crib, works as a safe and comfortable sleeping area for infants, providing parents peace of mind as they browse the joys and difficulties of parenthood. With a myriad of alternatives offered in the market, picking the best cot can be frustrating. This comprehensive guide aims to help moms and dads make notified choices about cots to tots for their infants by going over types, features, security standards, and maintenance.
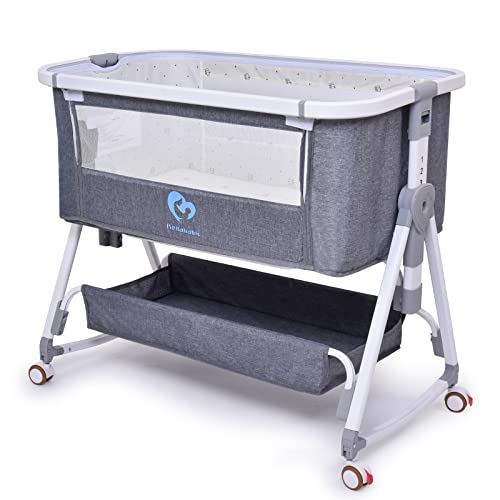
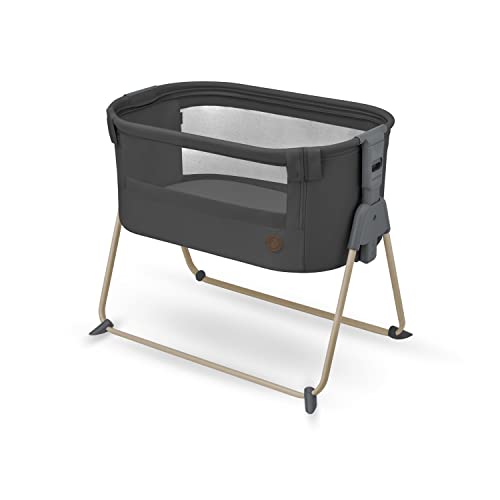
Types of Cots
Before diving into the specifics, it's vital to understand the different types of cots offered on the market. Below is a table summing up the most popular kinds of cots and their special functions.
| Type of Cot | Description | Pros | Cons |
|---|---|---|---|
| Requirement Cot | A fixed cot with stationary sides. | Durable and steady. | Can not be reduced for easy access. |
| Convertible Cot | Changes from a baby crib into a young child bed. | Lasting; grows with the kid. | More costly; may require assembly. |
| Portable Cot | Lightweight and simple to move, typically collapsible. | Great for travel; flexible. | Less durable; might not be as comfortable. |
| Bassinet | A little, low-level sleeping choice for newborns. | Space-saving; simple to move around. | Minimal usage; short life expectancy. |
| Co-Sleeper | Connects to the moms and dads' bed for proximity. | Promotes bonding; easy access. | Minimal size; might not fit all beds. |
Picking the Right Cot
Choosing the right cot includes considering a number of essential aspects, consisting of security, size, and design. Below is a list of crucial aspects to bear in mind:
Safety Standards: Look for cots to tots that adhere to security guidelines set by companies like the American Society for Testing and Materials (ASTM) or the Consumer Product Safety Commission (CPSC). Ensure the cot does not have sharp edges, splinters, or hazardous paints.
Mattress Fit: The cot mattress should fit comfortably with no spaces. A correctly fitting bed mattress helps avoid mishaps, such as suffocation.
Material: cheap cots are generally made from wood, metal, or composite products. Each type has its own benefits and disadvantages. Solid wood is usually thought about the most durable.
Adjustable Mattress Heights: Some cots feature adjustable mattress heights, permitting moms and dads to lower the mattress as the baby grows and ends up being more mobile.
Mobility: For moms and dads who may require to move the cot from room to space, consider one with wheels or a portable design.
Design and Aesthetics: While functionality and safety are paramount, the look of the cot might also factor into your choice. Choose a cot that matches your nursery decor.
Maintaining and Caring for Your Cot
To guarantee durability and safety, proper maintenance of the cot is vital. Follow these suggestions for keeping the cot in ideal condition:
- Regular Inspection: Frequently examine for loose screws or bolts and tighten them as needed.
- Cleaning: Clean the cot with a mild detergent and avoid utilizing extreme chemicals that might harm the surface or be hazardous to your baby.
- Prevent Overloading: Ensure that the cot is utilized just for its designated purpose-- sleeping. Prevent placing toys or items that might position a suffocation danger inside the cot.
- Follow Age Guidelines: Adhere to the producer's standards relating to the weight and age limitations to guarantee your baby's safety.
Frequently asked questions About Cots for Babies
1. For how long can my baby sleep in a cot?Most infants can oversleep a cot till they are around 2-3 years old, depending upon their size and movement. Watch on their development and transition them to a toddler bed when they begin to climb up out. 2. What safety features must I look for?Ensure the cot has a steady base, no loose parts, and complies
with security guidelines. The slats should be spaced no more than 2-3 inches apart to prevent entrapment. 3. Just how much need to I anticipate to invest in a cot?Cots can range from ₤ 100 to ₤ 1,000 or more, depending
on the brand, features, and products. It's important to discover and tear before use. 5. What kind of mattress is best cot beds?Choose a
a balance in between quality and budget plan. 4. Can I use a pre-owned small cot beds?Yes, but ensure it fulfills current security requirements tots and cots [view publisher site] hasn't been recalled. Check for any damage or wear
firm mattress that fits comfortably in the cot, preferably made from non-toxic materials. Try to find waterproof covers for simple cleaning. Choosing the right cot for your baby is a crucial decision that requires cautious consideration of many aspects, from safety requirements to personal choices. By understanding the various kinds of cots and their functions, along with appropriate maintenance suggestions, moms and dads can provide a secure and soothing sleeping environment for their kids. Investing time and effort into picking the best cot will pay off in peace of mind, allowing moms and dads to concentrate on creating cheerful experiences with their newborns.
관련자료
-
이전
-
다음