What's The Job Market For Best Window Repair Company Professionals?
작성자 정보
- Elizabet 작성
- 작성일
본문
The Best Window Repair Company: A Comprehensive Guide to Restoring Your Home's Windows
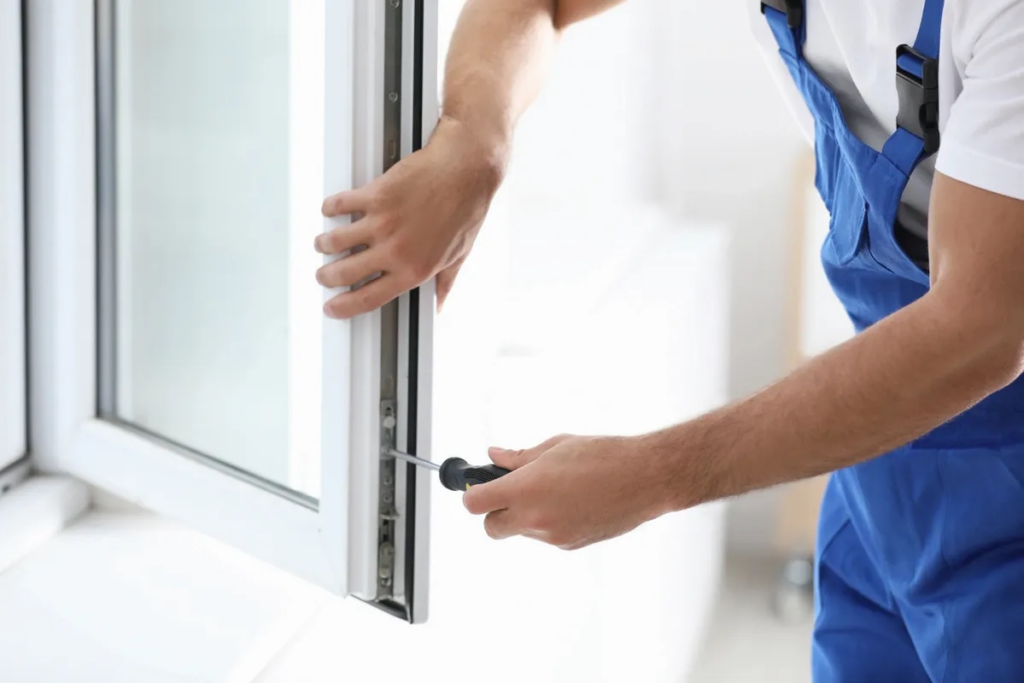
Windows are more than just openings in your walls; they are vital components of your home's aesthetic, energy efficiency, and overall convenience. Over time, however, windows can struggle with wear and tear, causing concerns like drafts, leaks, and even structural damage. When it comes to window repair, picking the right company can make all the difference. This post will direct you through the process of selecting the best window regulator repair repair company (sneak a peek at this web-site), guaranteeing your home's windows are restored to their ideal condition.
Comprehending the Importance of Window Repair
Before diving into the selection process, it's vital to understand why casement window repair repair is crucial. Windows that are harmed or malfunctioning can lead to a range of issues, including:

- Energy Inefficiency: Leaky windows can cause your home to lose heat in the winter and gain heat in the summertime, resulting in greater energy bills.
- Structural Damage: Water leaks can cause wood rot, mold growth, and other structural issues that can jeopardize the integrity of your home.
- Aesthetic Decline: Damaged windows can diminish the total look of your home, both inside and out.
- Security Risks: Broken or badly operating windows can be much easier for burglars to gain access to, posturing a security risk to your household.
Key Factors to Consider When Choosing a Window Repair Company
Experience and Reputation
- Experience: Look for a business with a tested performance history of successful window weatherstripping repair repairs. Experienced specialists are more likely to identify and repair concerns properly the very first time.
- Credibility: Check online evaluations, request for referrals, and check out reviews to evaluate the company's track record. A great company will have a history of pleased consumers.
Accreditations and Licenses
- Accreditations: Ensure the company and its technicians are certified by appropriate companies, such as the National Glass Association (NGA) or the Window and Door Manufacturers Association (WDMA).
- Licenses and Insurance: Verify that the business is certified to run in your area and has adequate insurance to cover any mishaps or damages that may take place throughout the repair process.
Series of Services
- Comprehensive Services: The finest window repair business provide a large range of services, consisting of glass replacement, frame repair, seal restoration, and hardware replacement.
- Specialized Services: Some companies may focus on certain kinds of windows, such as historic or customized windows. Guarantee the company can manage the specific requirements of your windows.
Consumer Service
- Responsive Communication: An excellent business will be responsive to your questions and provide clear, timely interaction throughout the repair procedure.
- Guarantee and Guarantees: Look for a company that offers service warranties on both the repair work and the products used. This can provide comfort and safeguard you from future problems.
Rates and Transparency
- Competitive Pricing: Compare quotes from multiple business to guarantee you are getting a fair price. Nevertheless, remember that the least expensive rate may not always be the finest worth.
- Transparent Pricing: The business ought to supply a detailed breakdown of costs, including labor, materials, and any additional charges. Avoid business that are vague about their pricing.
Actions to Select the very best Window Repair Company
Research and Shortlist
- Online Search: Use online search engine and local directories to find window pane repair repair companies in your location.
- Referrals and Reviews: Ask friends, family, and next-door neighbors for suggestions and check out online reviews to limit your options.
Initial Consultation
- Request a Quote: Contact the shortlisted business and request a free estimate. During the assessment, discuss your particular requirements and any concerns you have.
- Examine Professionalism: Pay attention to how the business's representatives connect with you. An expert and polite team is an excellent sign.
Examine the Estimate
- Compare Quotes: Review the estimates from each company, paying attention to the scope of work, materials, and rates.
- Ask Questions: If you have any doubts or need clarification, do not be reluctant to ask. A credible business will enjoy to address your questions.
Inspect References and Credentials
- References: Ask for references and follow up with previous consumers to get their feedback.
- Credentials: Verify the business's licenses, certifications, and insurance.
Make Your Decision
- Trust Your Instincts: After thinking about all the elements, trust your instincts. Select a company that you feel comfortable working with which fulfills your requirements and budget plan.
FAQs About Window Repair
Q: How do I know if my windows require repair?
- A: Signs that your windows may require repair include drafts, leaks, problem opening or closing, foggy glass, and visible damage to the frame or hardware.
Q: Can I repair my windows myself?
- A: Simple tasks like replacing a cracked double pane window repair of glass can be done by house owners with the right tools and knowledge. However, more complicated problems, such as frame repair or seal remediation, are best left to experts to make sure the repair is done correctly and safely.
Q: How long does window repair generally take?
- A: The period of the repair process depends on the level of the damage and the kind of repair required. Minor repairs can often be completed in a day, while more substantial repairs may take a number of days.
Q: What should I look for in a service warranty?
- A: A good guarantee must cover both the repair and the products used. Try to find a service warranty that is transferable if you prepare to sell your home in the future.
Q: How can I avoid future window issues?
- A: Regular maintenance, such as cleansing, oiling moving parts, and checking for signs of wear, can help extend the life of your windows. Additionally, resolving small problems without delay can avoid them from ending up being bigger, more expensive problems.
Selecting the finest window repair company is an essential step in maintaining the convenience, effectiveness, and value of your home. By thinking about aspects such as experience, credibility, accreditations, and customer care, you can find a dependable and expert business that will fulfill your requirements. With the best partner, your windows will be brought back to their optimal condition, guaranteeing your home remains a safe and comfy location for several years to come.
By following the steps laid out in this guide and keeping the FAQs in mind, you can make a notified decision that will benefit both your home and your peace of mind.
관련자료
-
이전
-
다음